


Six months ago, my oven was broken, but I was really craving cake.
My new stove had not arrived yet, so first, I experimented with my Instant Pot with mixed results.
And I wasn’t about to bake a cake in my microwave.
I rummaged through my cupboards and retrieved my bamboo steamer basket, which I use for making dumplings and steamed buns.
"Why don't I just steam a cake," I thought to myself.
I combined all the ingredients and placed the mixture in the bamboo steamer baskets.
The result was fantastic.
The cake was incredibly moist and fluffy, almost like a sponge cake.
What was once an impromptu experiment has now become my go-to method for making cake!

There are several benefits to this method. First, the cake is ready in about 12-15 minutes, which is almost half the time it takes to bake a regular cake. So if you’re in a rush for cake, this method is for you! Additionally, any style of cake can be used. I have used boxed cakes, made cake from scratch, and even made a cheesecake using the same method. The result is always an incredibly moist texture that is super spongy, soft, jiggly, and delicious. The cake turns out lighter than a cloud. The bamboo basket's construction ensures that any condensation that might drip onto the cake while it cooks is absorbed by the bamboo. Additionally, steaming allows you to cook at a lower temperature (since water boils and creates steam at 212°F), eliminating the risk of a bone-dry interior that can be all too common with a finicky, high-heat oven.
This cake is so delicious that it will have everyone coming back for more. I made this special cake for my son's high school graduation, and it was devoured in minutes!
Quick and Easy Method for Delicious Steamed Cake
It’s nearly summer, and I want to avoid spending too much time in a hot kitchen.
This method will ensure your cake is ready in 12-15 minutes!
I used box cake mix to cut down on time. If you want to make a multi-layer cake, simply double the recipe! If box cake is not for you, simply use your favorite cake recipe and follow my steaming instructions.
Ingredients:
Box Cake Mix - 1 package (choose your preferred flavor, I love double chocolate and vanilla)
Eggs - as required by the box mix instructions (typically 3 or 4)
Vegetable Oil or Butter - amount as specified on the box mix (usually 1/3 to 1/2 cup)
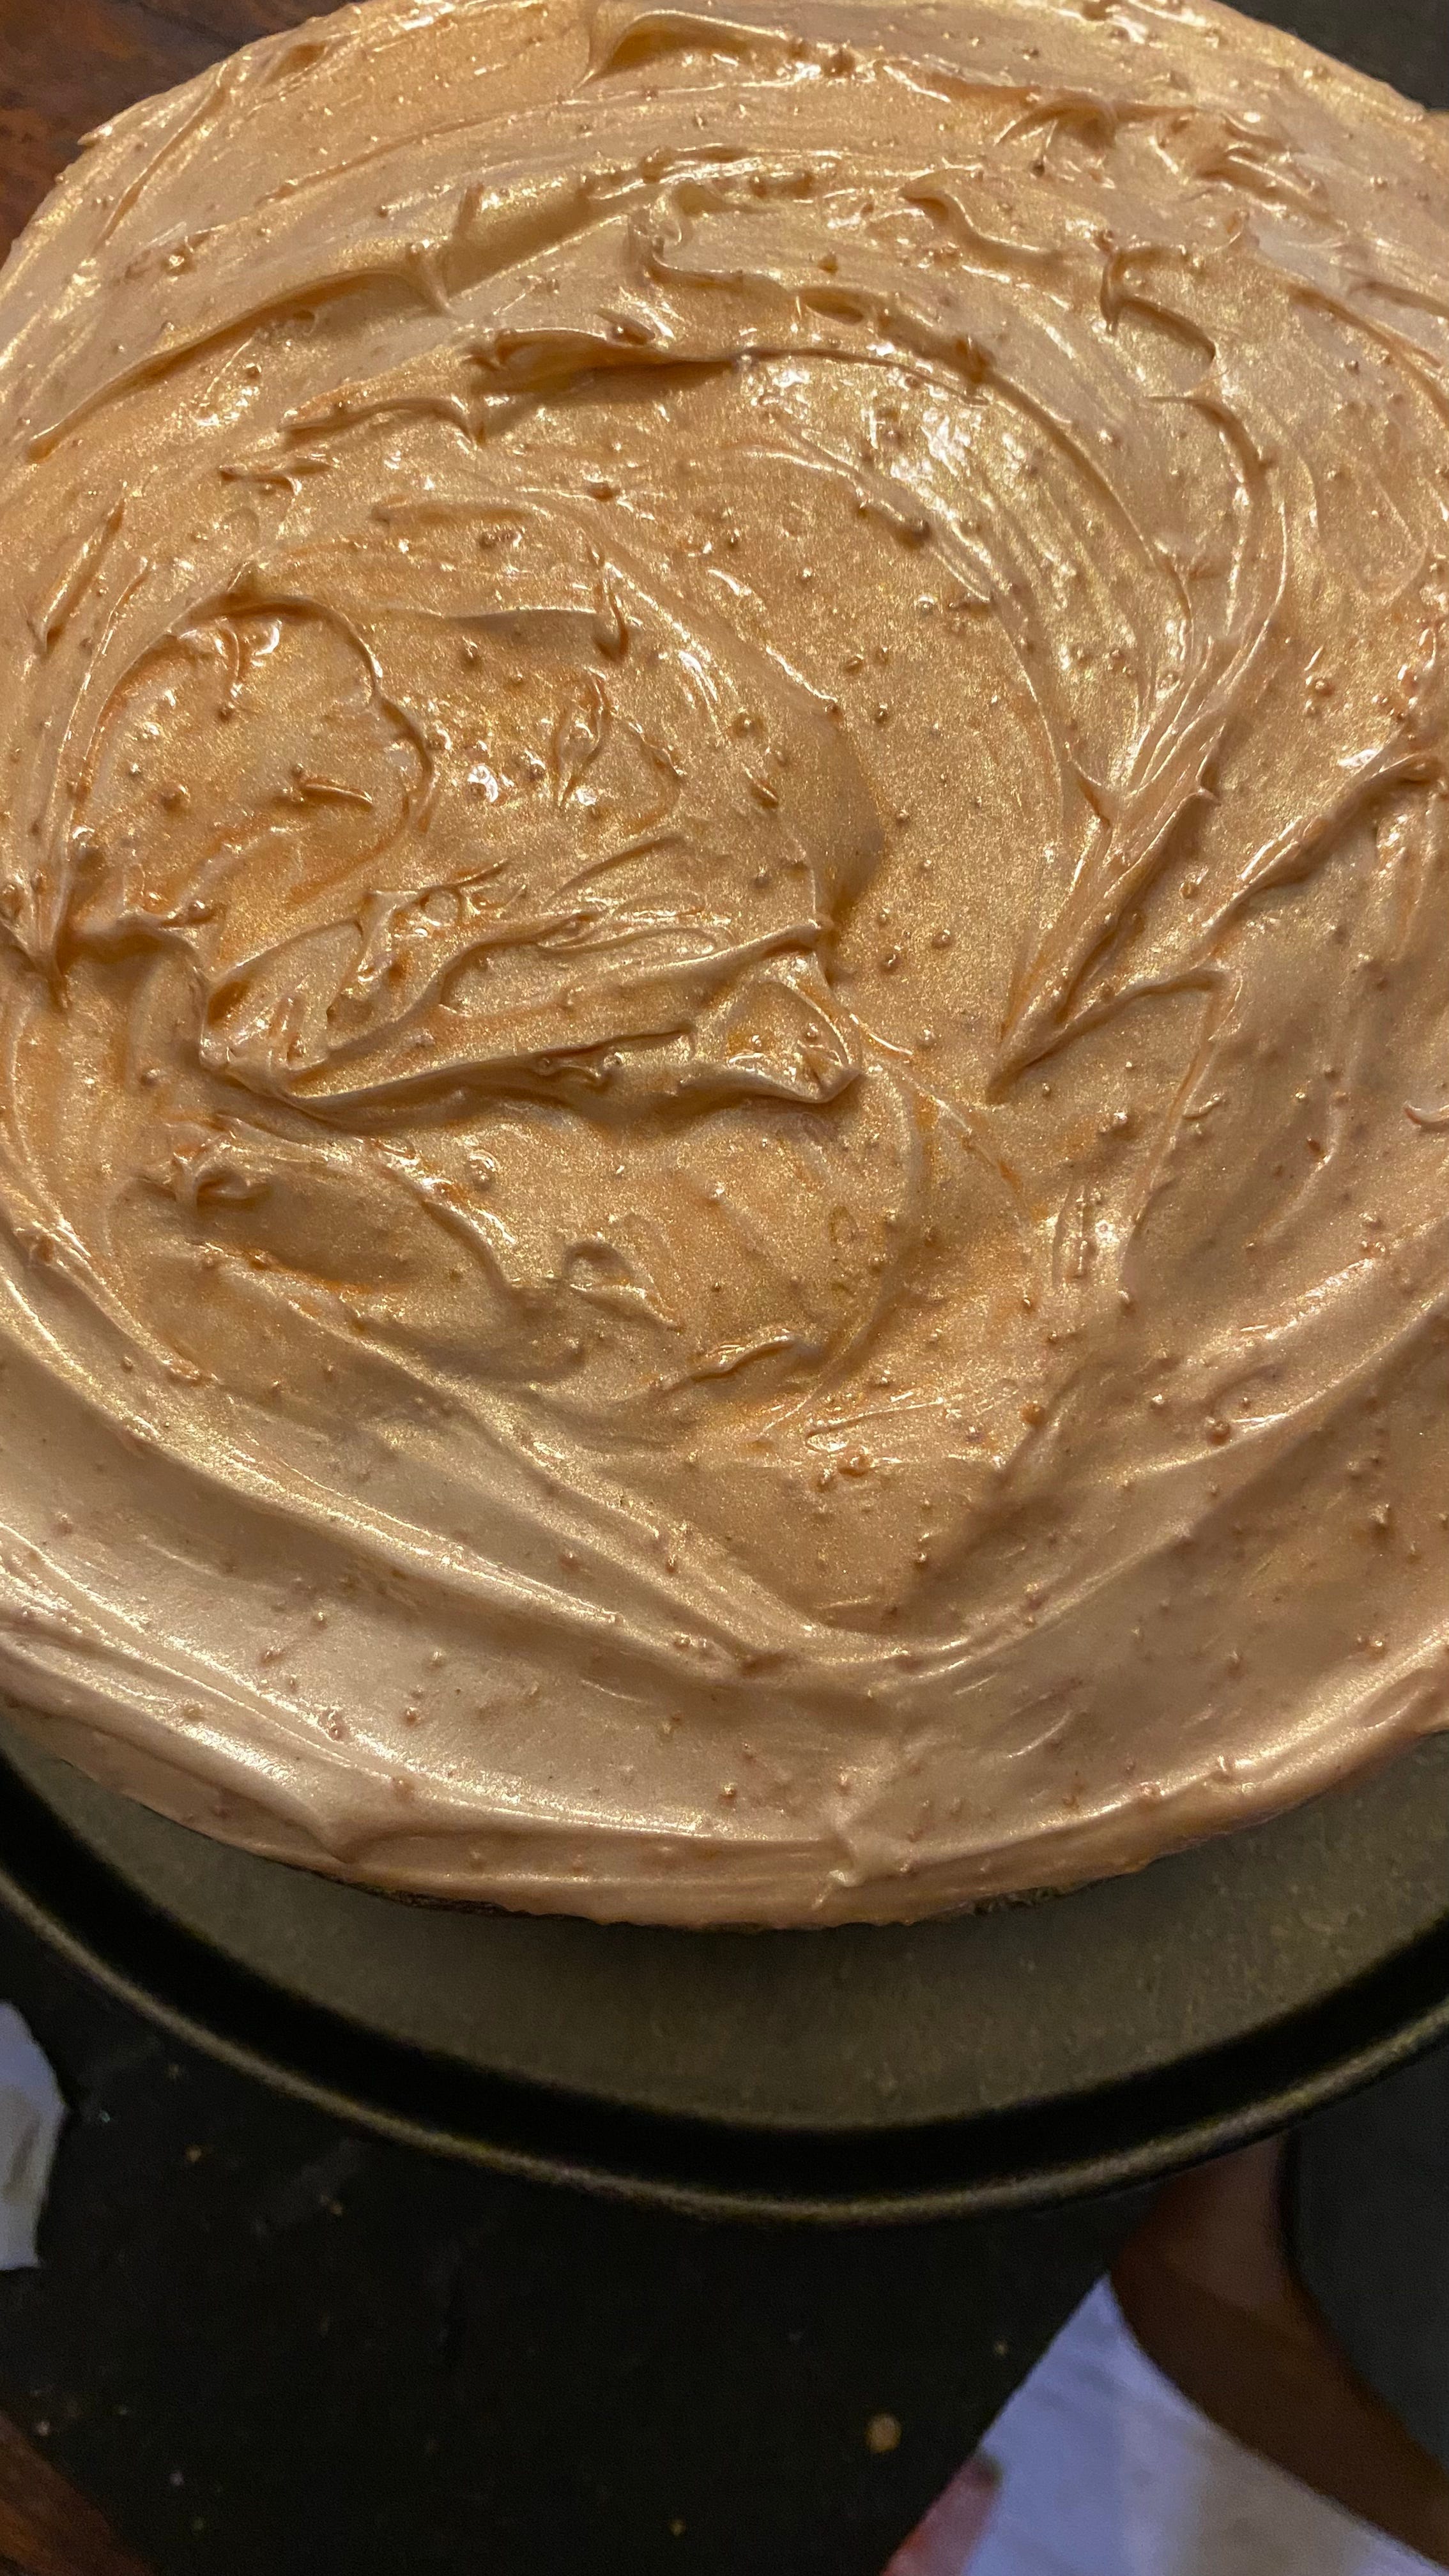
Frosting or Whipped Cream - optional, for icing the cake (choose your favorite type-I love anything with cinnamon and vanilla)
Equipment:
Silicone Cake Pan - suitable for steaming
Bamboo Steamer - large enough to fit the silicone cake pan
Fork or Whisk - for mixing the batter
Large Mixing Bowl - for preparing the batter
Prepare the Silicone Cake Pan:
Lightly grease a silicone cake pan suitable for steaming. Ensure it fits into your wooden steamer.
Mix the Cake Batter:
In a large mixing bowl, combine the contents of your chosen box cake mix with the required number of eggs and either vegetable oil or melted butter as specified on the box. Use a fork or a whisk to mix until just combined. Try to avoid overmixing while ensuring that the ingredients are well incorporated.
Steam the Cake:
Pour the batter into the prepared silicone cake pan.
Prepare your steaming apparatus. Once the water is gently boiling and steam begins to form, place the silicone cake pan inside the wooden steamer.
Ensure the steamer lid is tightly closed to prevent steam from escaping.
Steam the cake until a toothpick inserted into the center comes out clean and the cake is springy to the touch. The top should look even and feel spongy but not wet/uncooked. I would describe the cake top as having a leathery appearance. When you press on the top, it feels dry to the touch but still springs back.
Cool and Serve:
Allow the cake to cool in the pan for 5-10 minutes before removing.
Serve warm or at room temperature. Optionally, ice with a frosting or whipped cream of your choice. Sometimes, I enjoy creating a lighter, fruity version of the cake by filling the layers with whipped cream, strawberries, and raspberries!
The best thing about this cake is that it remains super moist for several days after baking and can be stored covered at room temperature. I haven't refrigerated it for storage, as this cake is best served warm, but I think refrigeration would prolong its shelf life. You can reheat each slice to your liking before serving.
Let me know if you try refrigeration so I can give it a try as well!
When you make this cake, please send me photos and a full review!
Tonight, I’ll be dancing to Circles Around the Sun at the Bijou Theatre. Here’s a live set from them from about four months ago:
When I started making my steamed cakes, I went on a deep dive on YouTube to try and find instructions on how to improve and I came across this video for Jiggly Cake a.k.a. Japanese Cheesecake:
Here's my latest YouTube post to my channel— I'm using my hand-built pneumatic air quenching machine to cool blades made from a specific stainless steel, requiring clamping between plates and rapid air cooling:

See you next Wednesday! I am going to share one of my favorite cookbooks with you and tell you about my tradition of “Fancy Dinner Monday.”
Don't forget to share this post with anyone who needs a slice of spongy, delicious cake in their life.
Comment if you’ve ever made a steamed cake before.
Have a fantastic rest of your week!
x
John Phillips, a.k.a. The Knife Man

Share this post